Product tour
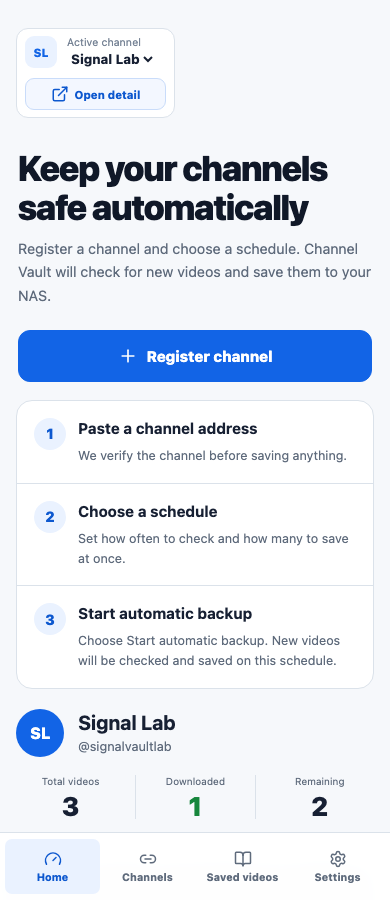
Channel Vault opens in a simple default mode. It keeps the three everyday tasks together: register a channel, start its automatic backup, and read its status.
For a guided setup with the same controls, see Start your first channel backup.
Default mode
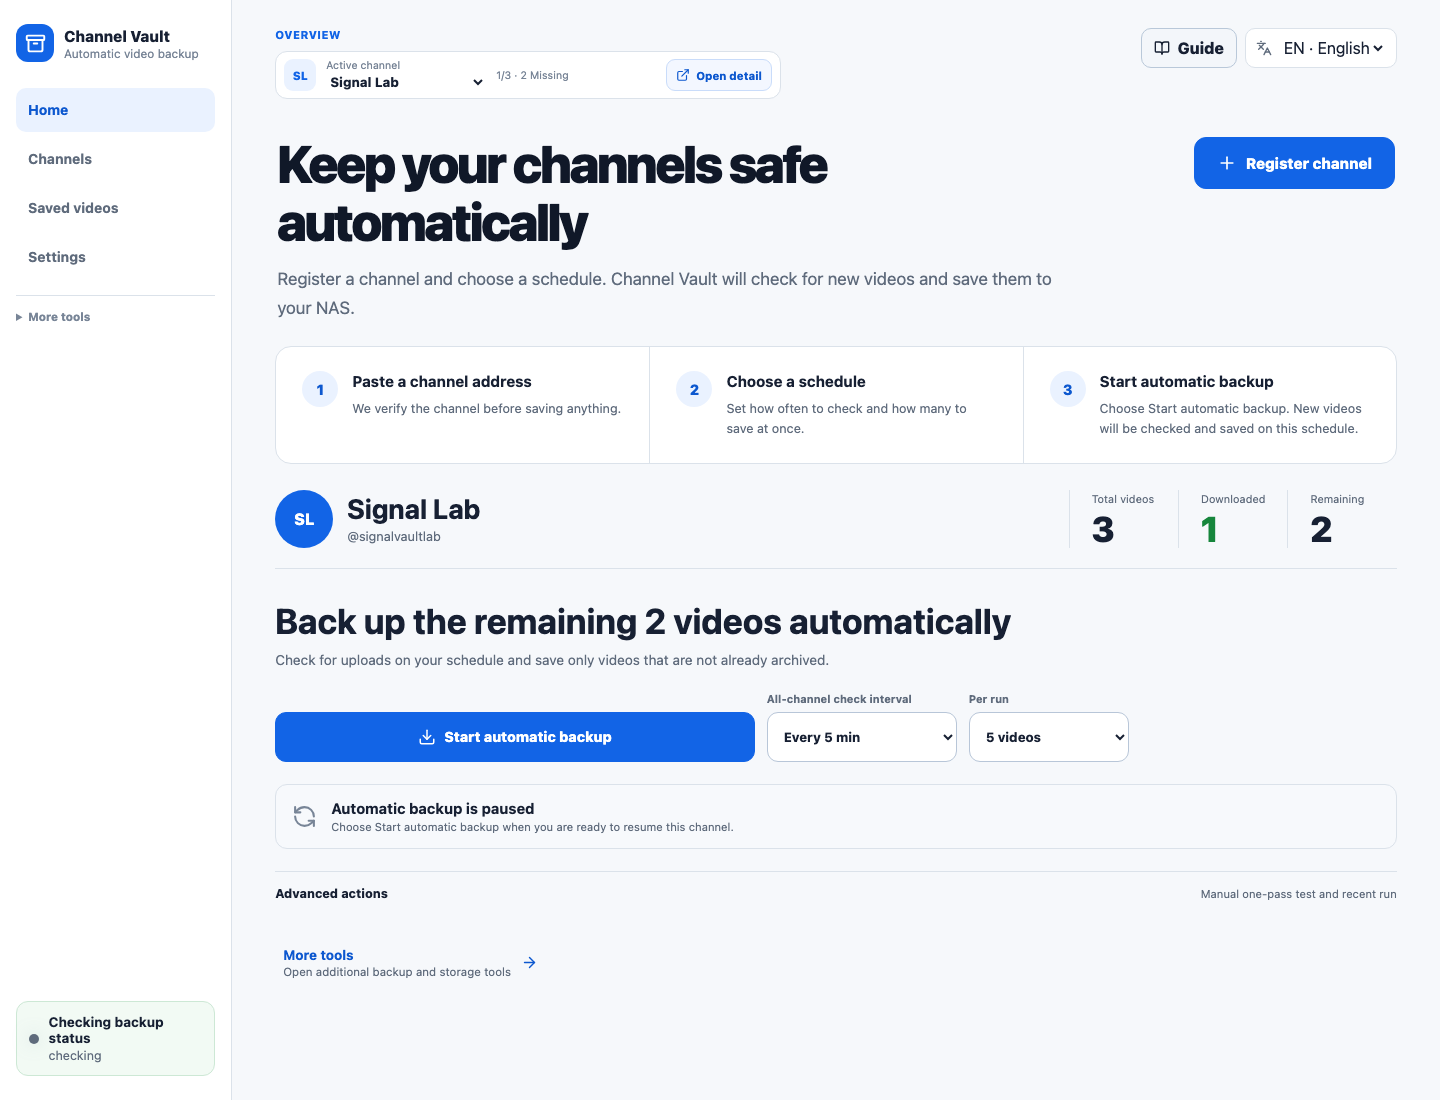
1. Register a channel
- On Home, select Register channel. On Channels, select Add channel.
- Paste a channel URL,
@handle, orUC…channel ID. - Select Check channel.
- Confirm the channel, then select Register channel.
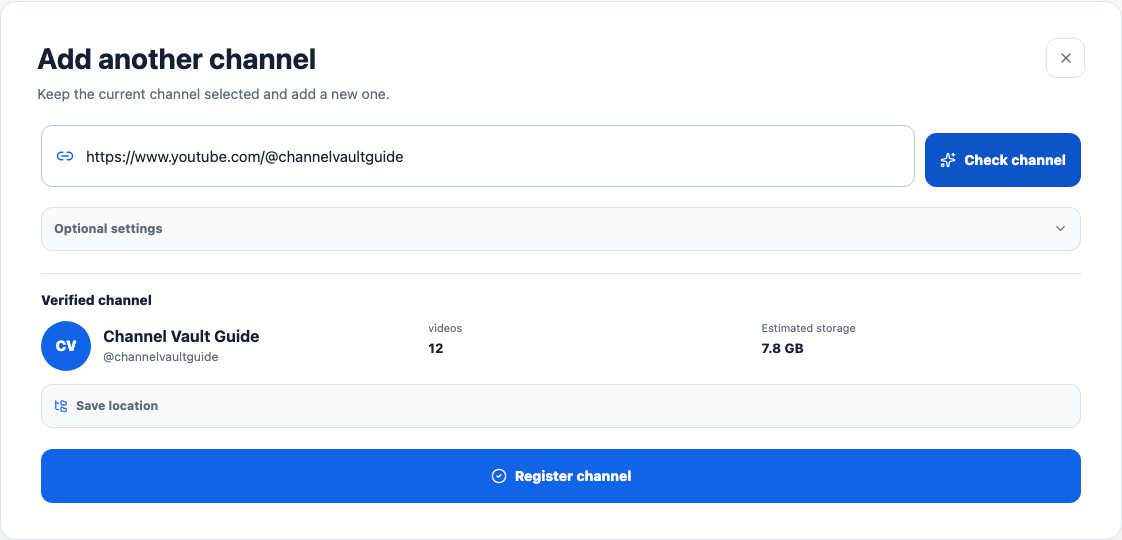
Checking and registration do not start a download.
2. Start automatic backup
- Choose All-channel check interval.
- Choose Per run.
- Select Start automatic backup.
- Confirm that the channel changes to Automatic backup is on or Automatic backup is running.
With zero remaining videos, the start action reads Back up future videos automatically and keeps checking for new uploads.
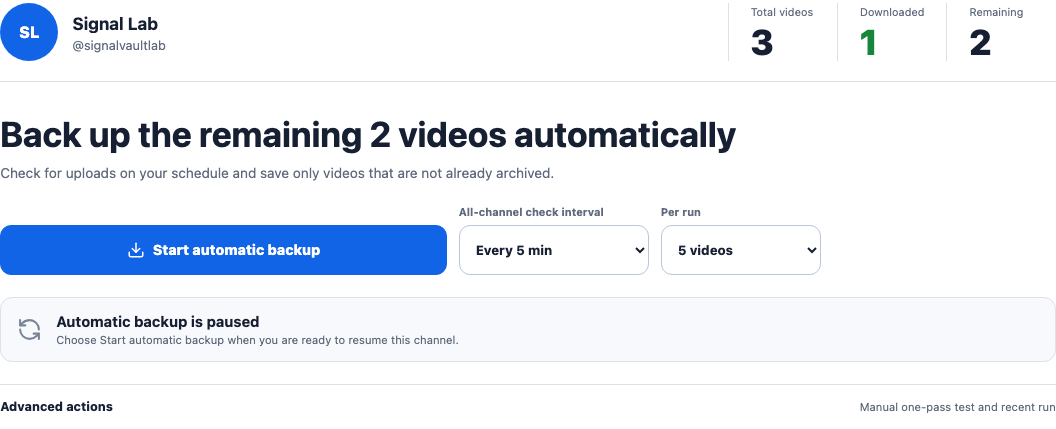
Select Save schedule after changing the interval or per-run count. Select Pause to stop future passes from starting.
3. Read the status
The selected channel always shows one main status:
| Status | Meaning |
|---|---|
| Automatic backup is on | The channel is waiting for its next scheduled check. |
| Automatic backup is running | Videos are being checked or saved now. |
| Automatic backup is paused | No new scheduled pass will start for this channel. |
| Needs attention | A problem needs a decision or retry; follow the action shown with the message. |
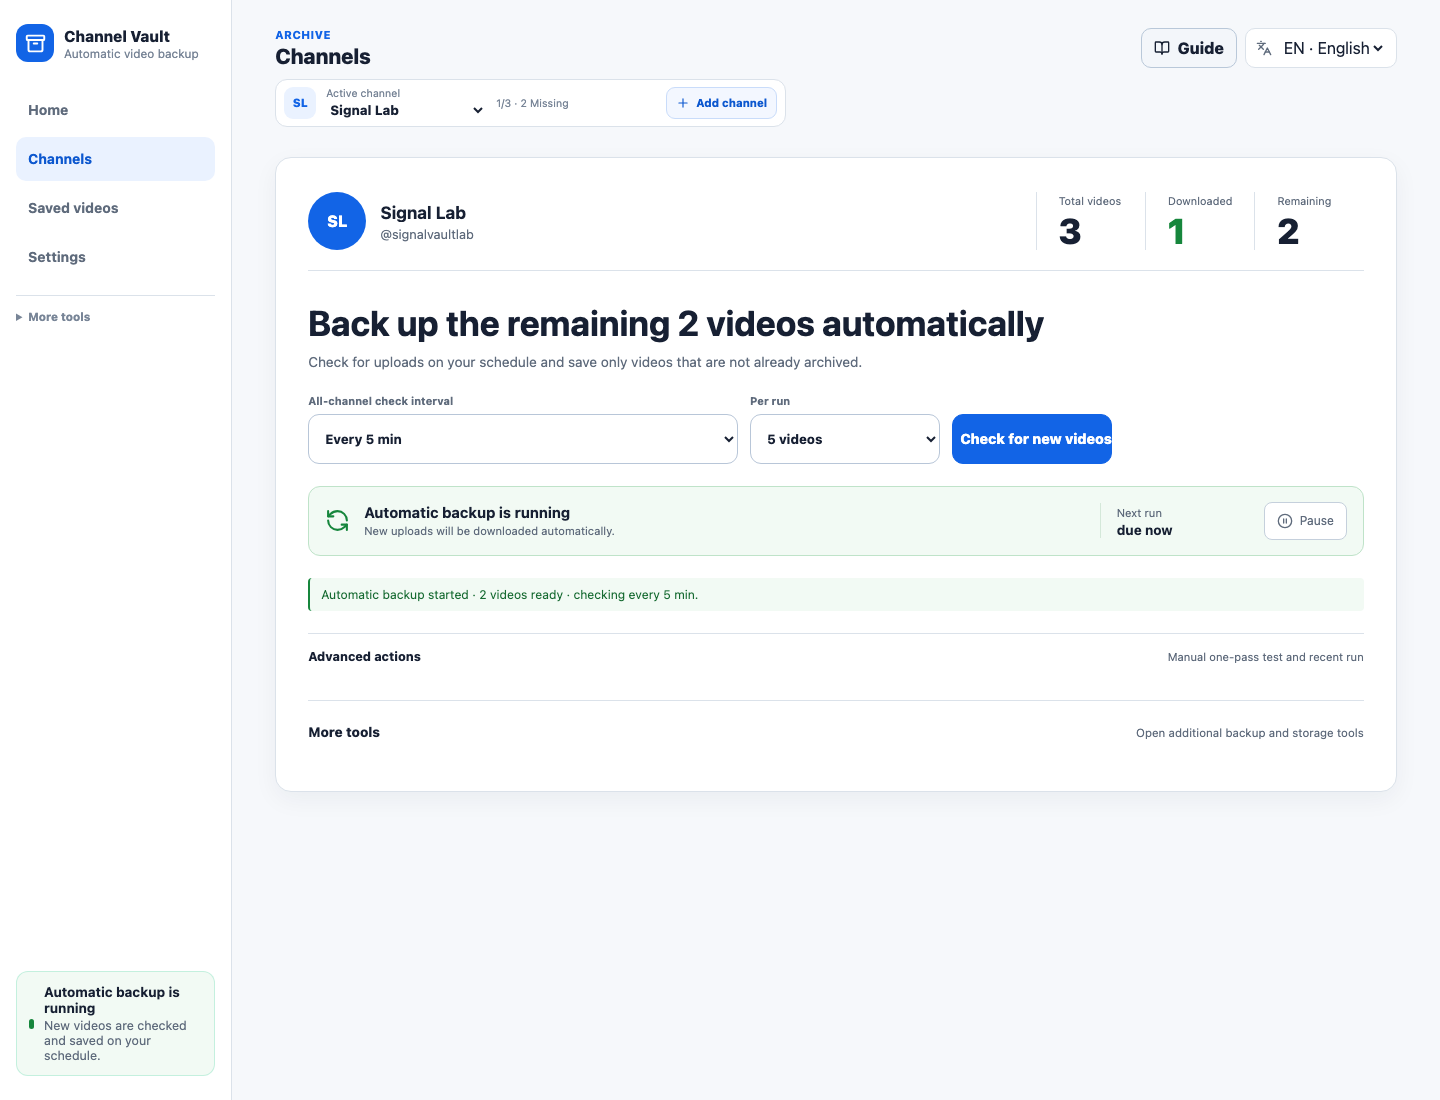
With zero remaining videos, the heading reads Every video on this channel is backed up. Leave automatic backup on if you want Channel Vault to collect future uploads.
Everyday actions
- Add another channel: open Channels, select Add channel, and repeat the three steps.
- Change the schedule: change All-channel check interval or Per run, then select Save schedule.
- Pause future download passes: select Pause on the channel.
- See saved videos: select Saved videos in the main navigation.
- Refresh a channel now: select Check for new videos.
Mobile
The default flow uses the same labels and order on a phone. Required actions stay in the page rather than moving into an icon-only menu.
Advanced management
Most users can stop after the default-mode tour. Open Advanced management only when you need detailed administration or support information.
Job activity
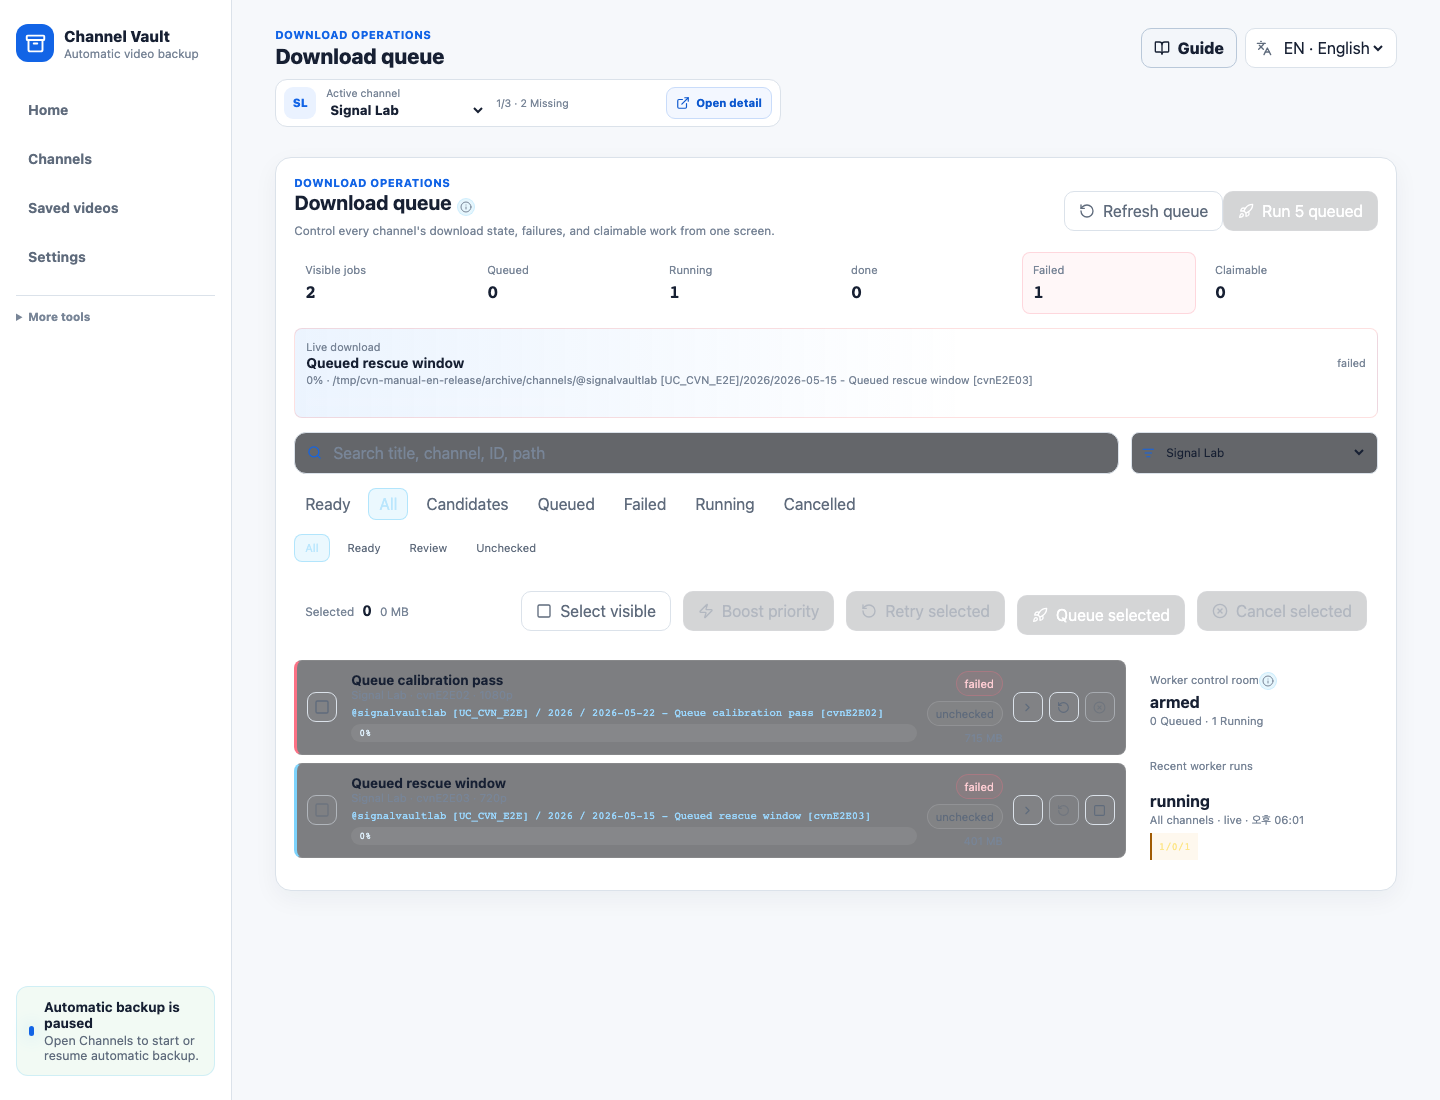
The Queue screen shows individual work items, filters, retries, and detailed progress. Use it when Needs attention asks you to inspect a specific item.
Channel logs and policy
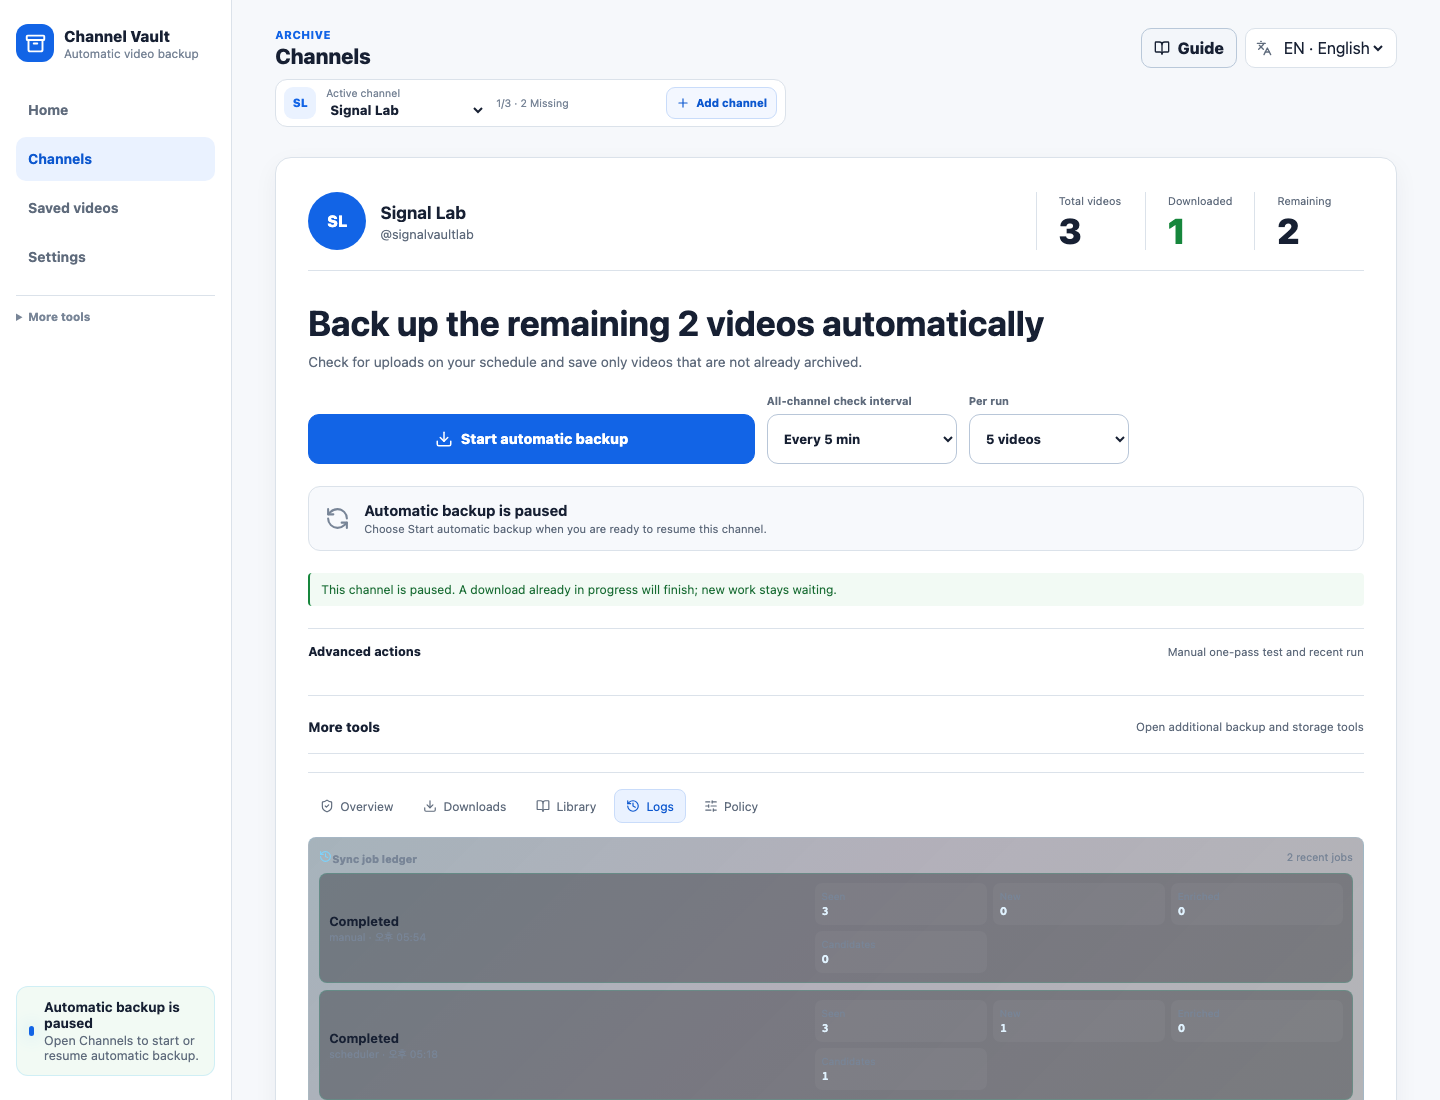
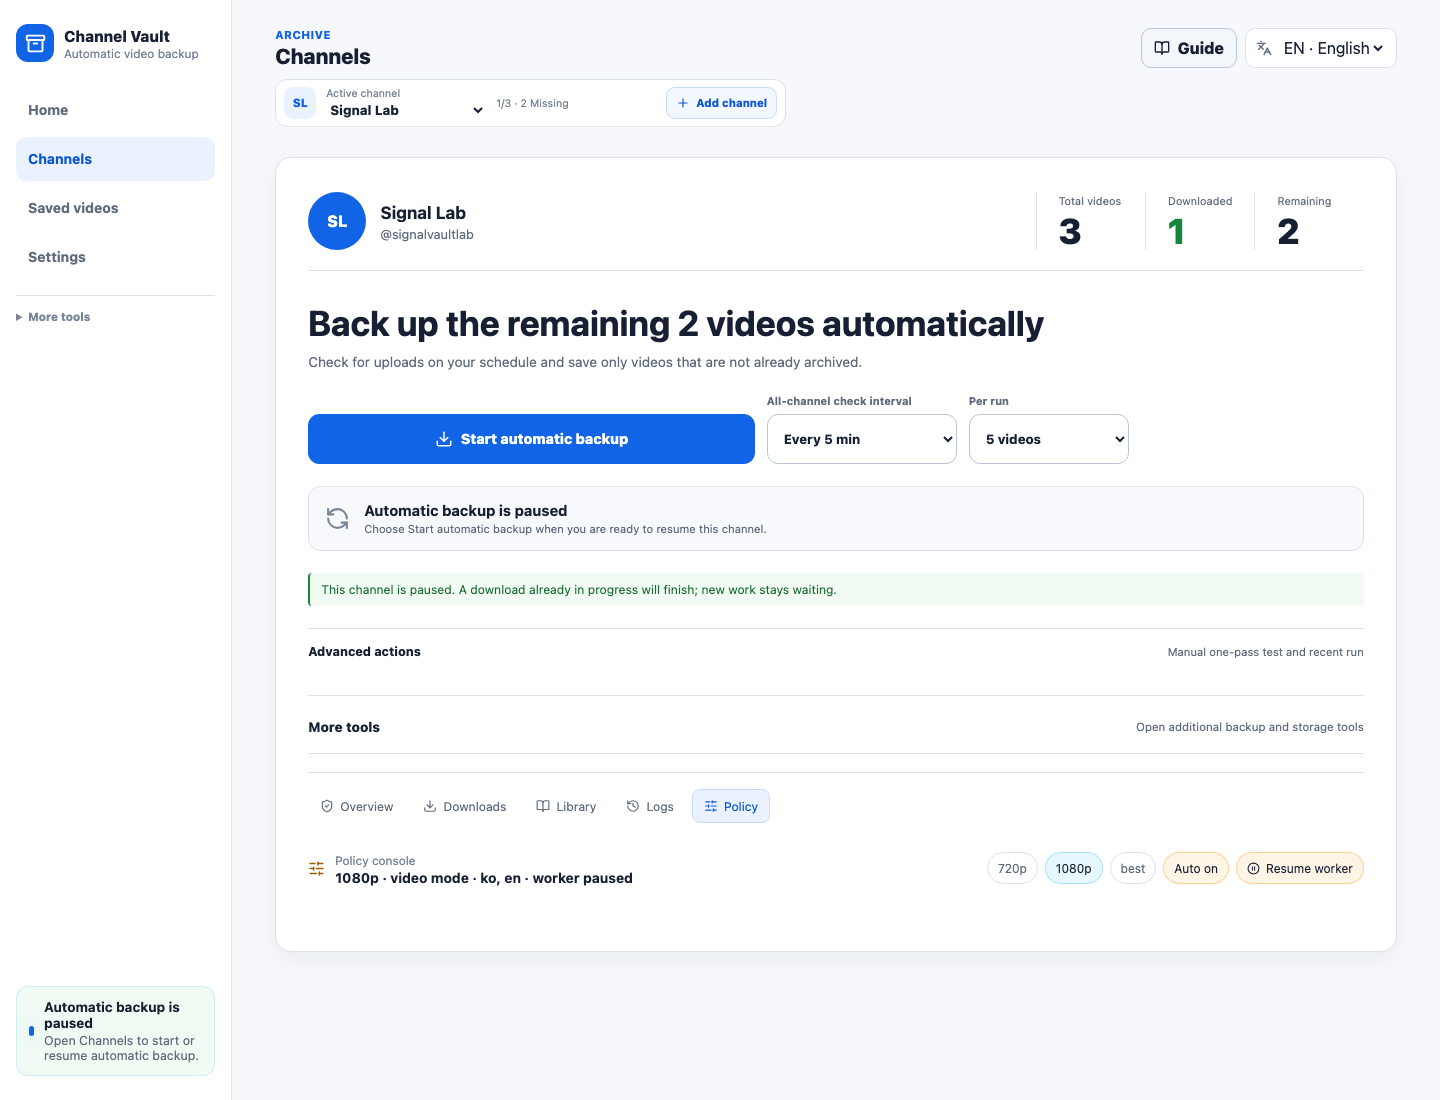
Select Channels, open the channel, expand its Advanced management section, then choose Logs or Policy. Logs provides an auditable channel history. Policy controls whether that channel may create and claim work. These screens are not required to start or pause normal automatic backup.
Saved videos
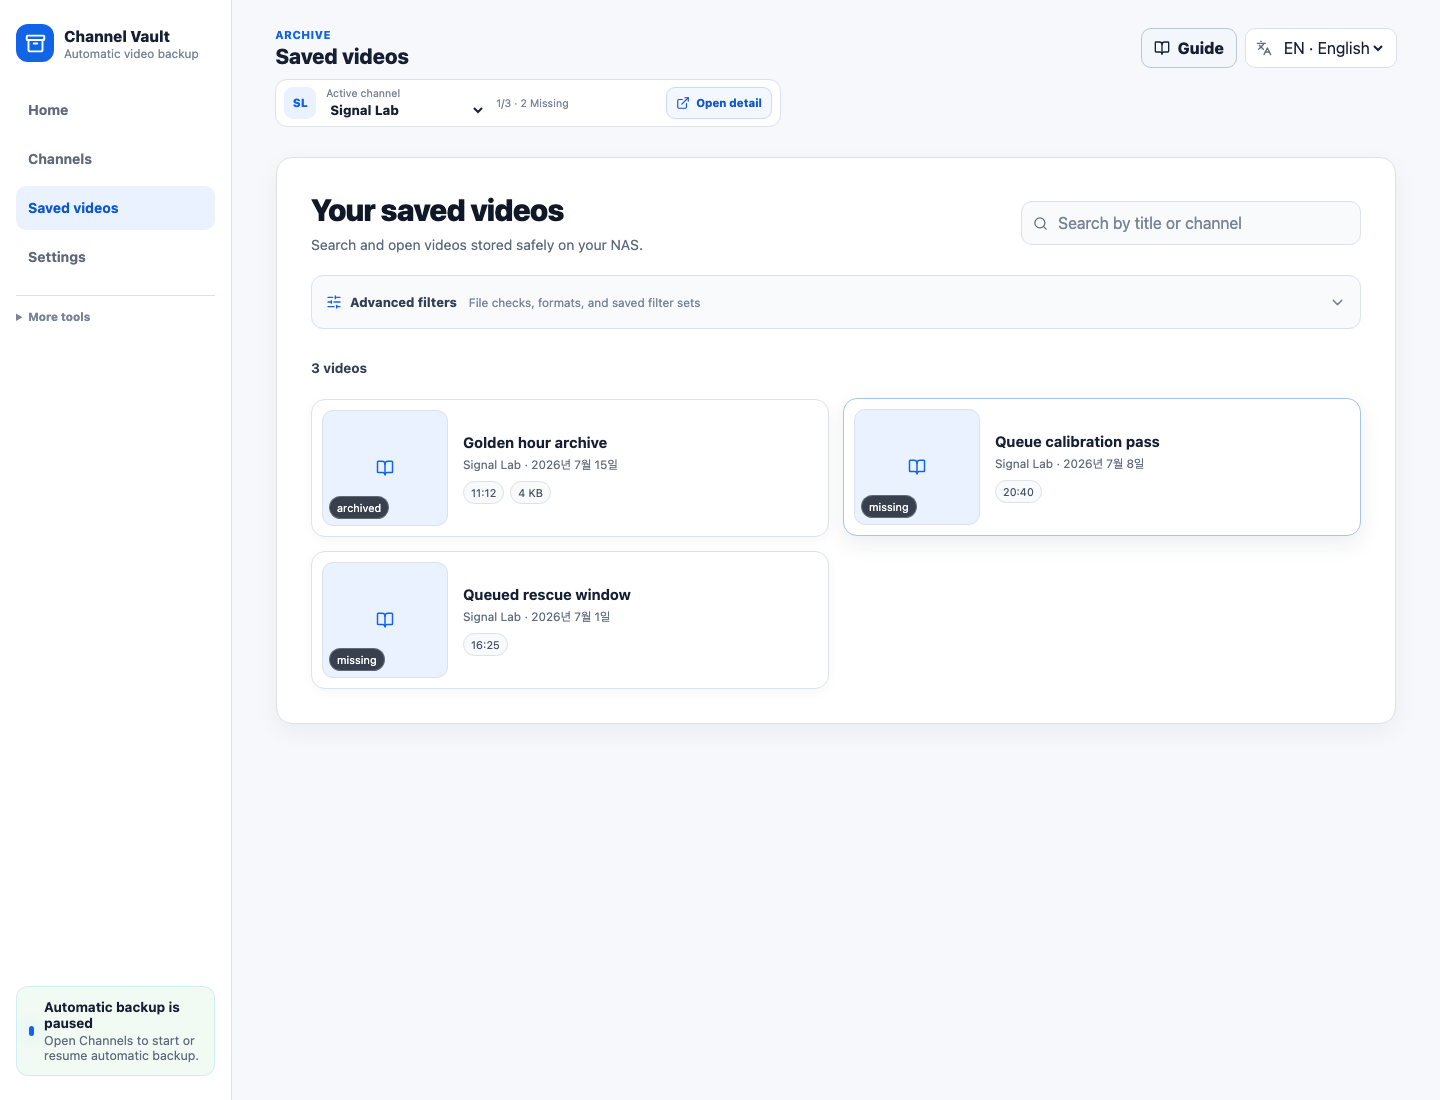
Select Saved videos, then choose a channel in the selector at the top. Type part of a title or channel name into Search by title or channel, then click a video card to open it. For file-integrity, sidecar, codec, saved-view, or import/export controls, click Advanced filters. These technical controls stay closed during normal browsing.
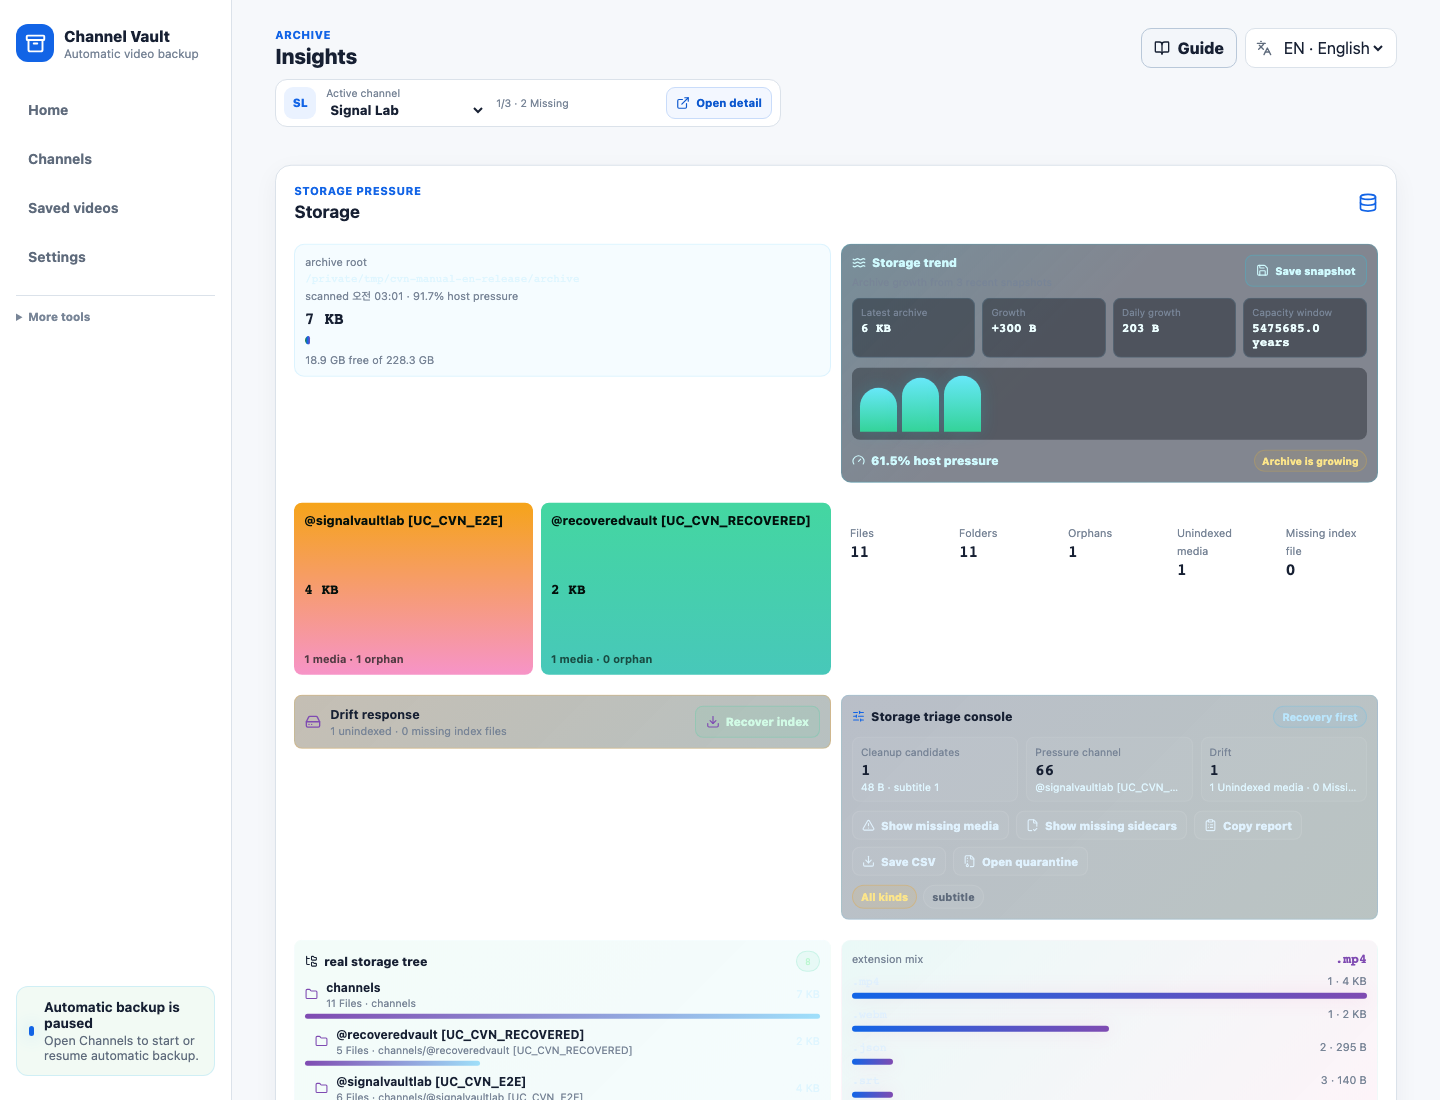
Storage analysis
Insights reads the archive root and exposes storage pressure, folder structure, drift, and unindexed-file analysis.
Settings and runtime tools
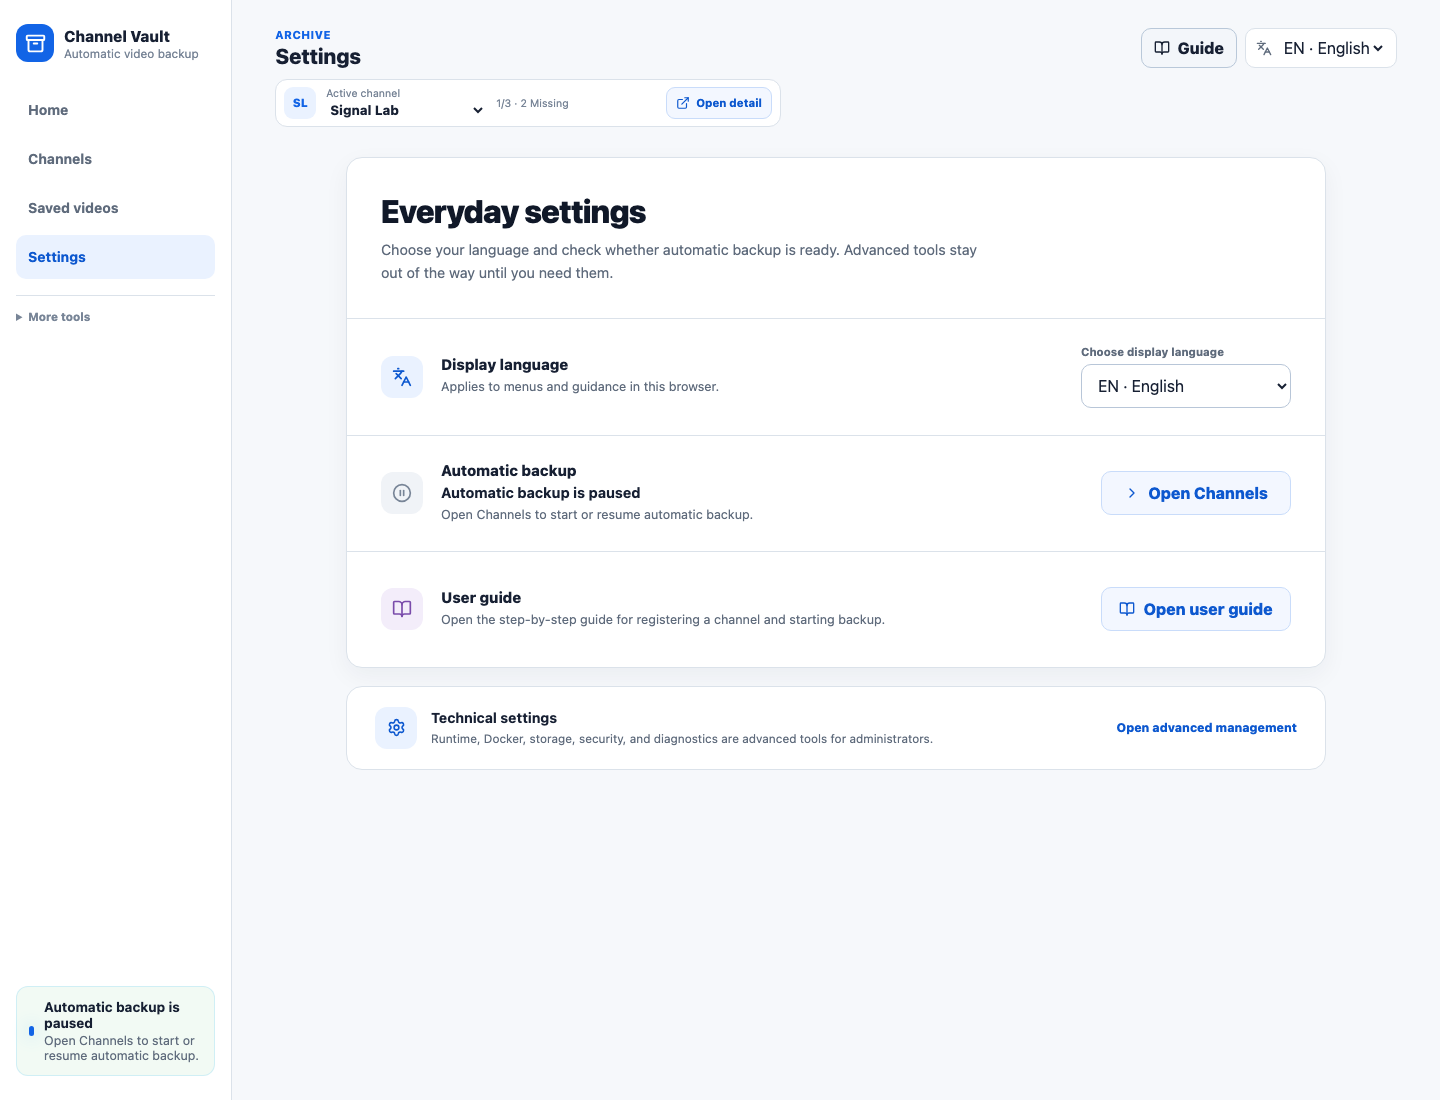
Select Settings in the main navigation for the everyday settings screen. Here you can change the display language, confirm the automatic-backup state, open the user guide, or return to Channels. On a phone, this is also the place to reach the same guide and advanced routes.
For deployment or a support procedure, expand Technical settings. Then choose Queue, Insights, or Runtime tools. The runtime panel contains worker and scheduler state, binary availability, and the environment guide; it is not required for normal backups.
For the guarded one-time test and migration paths, see Start your first channel backup → Advanced management and Bring an existing archive.